This is the info needed to build a P10 PCM benchtop harness.
Yes, everything works. I bought a USB dongle from OBD2TOOL , reconfigured TIS2000, and it now works flawlessly.
Here is an incomplete parts list… sorry I made many trips and didn’t write down everything as I intended…
For the P10 PCM go to a “You Pull It” junkyard and obtain the Blue and White connectors (with as much pigtail as you can get). Sometimes you can find a used PCM with pigtails. I did find a cheap used P10 PCM to use as a spare/test PCM. The OBDII, radio, and BCM connectors (with pigtails) I also got from a you pull it junkyard. I would also check your local craigslist for private parties parting out GMT360’s in their backyard. I was surprised to find several local to me although I got the connectors/pigtails from a “Pull-N-Save”. At self serve junkyards, at least the ones I frequent, couldn’t care less I was butchering harnesses on cars to get the connectors I needed. I pulled out all the pins/wiring for each connector that was not used… cleans it up a bit. You can also Google “Row52″ for a local self serve who is in their network.
I started out with a small plastic project box but wound up with a larger aluminum project box. Aluminum project boxes are much easier to work with for drilling/tapping holes. If I had to do it over again I would have gotten a slightly larger (longer) aluminum project box because the one I wound up with would only effectively allow a 6 position terminal block to be mounted on the bottom. I could have used more positions. I have since added a E40 ECM connector for my 06 SWB TB 5.3L. So, its busy in the box. I should have made the box a little more modular.
I soldered every connection possible… wiring shrink wrap/protection tidies up the rig.
Doing it over again I would not have used an LED for incoming “Battery” power confirmation. My Power Supply does that for me already. It also further clutters the guts of an already tight project box.
Power Supply – (you don’t need something this fancy… but these are useful for other projects/bench circcuit troubleshooting)
Circuit Specialists CSI3005SM Power Supply
(obtained cheap banana test leads at Frys to cut up and use to connect to project box)
Project Box – (Frys Electronics)
Philmore 1590C Hammond Diecast Aluminum Allow Boxes 4.7×3.7×2.0
Terminal Block – (Frys Electronics)
Philmore 6-Pole Dual Row terminal Block. I believe these are 10-32 screws so I obtained some #10 terminals for soldering/securing to terminal block. Try to find terminals for 18-22AWG wiring…
Fuse Holder – (2x) – (Frys Electronics)
NTE Panel Mount Fuse Holder for 5 X 20mm Fuses.
Search Amazon for your choice LED power Switch –
“Round Rocker LED Power Switch”
The connector I used to tee out to the BCM and Radio connectors resembles a microphone jack. I forget the model/part numbers but I obtained these from Fry’s. Again, doing it over again I would have used a solder cup serial comm D Sub 9 (or 15 – VGA) connector setup for future expansion + a little more robust. I would have also used a D Sub connector on the PCM/ECM connector side.
Wiring – I used bits and pieces from cut GMT360 harnesses and cut up some different color cheap test leads purchased from Frys to keep track of everything.
For drilling the larger holes in the box I used a Harbor Freight Step Drill bit. They come in sets of 2 and 3. Figure what hole size you need and plan accordingly.
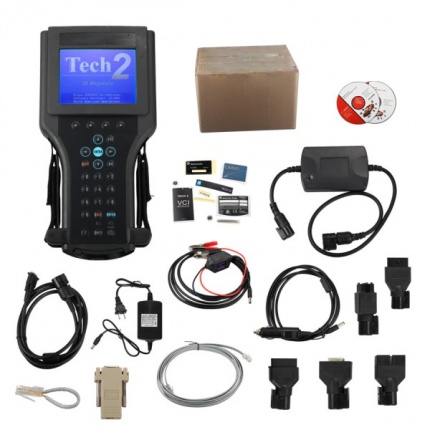
Overall, I am very happy with my new benchtop adapter, Tech 2 and TIS2000.
|



